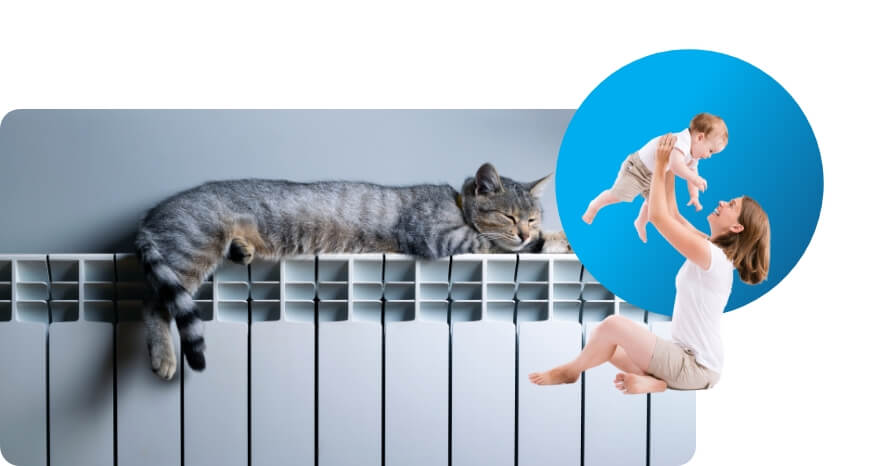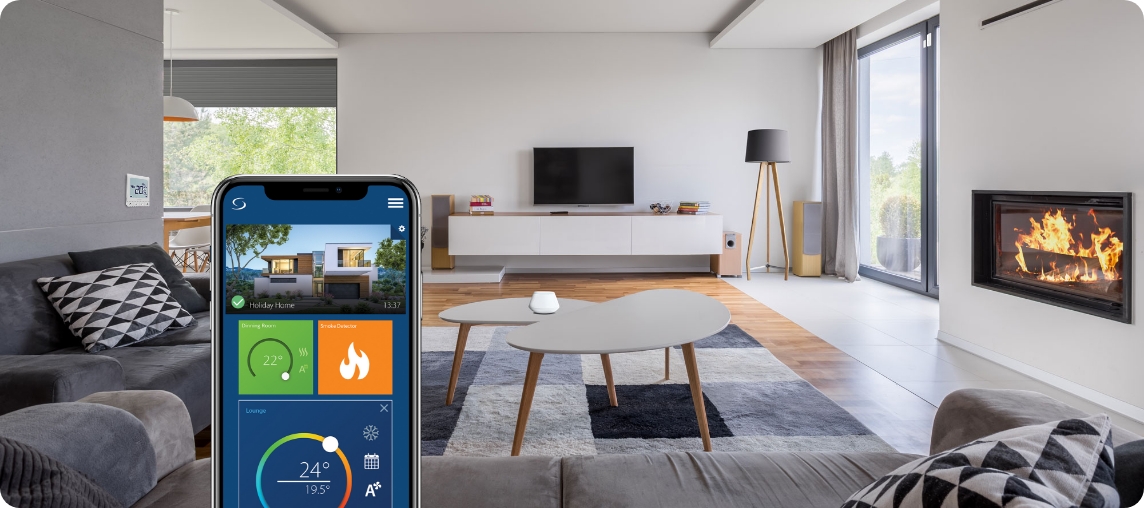


Automate and control the temperature, lighting and home security.
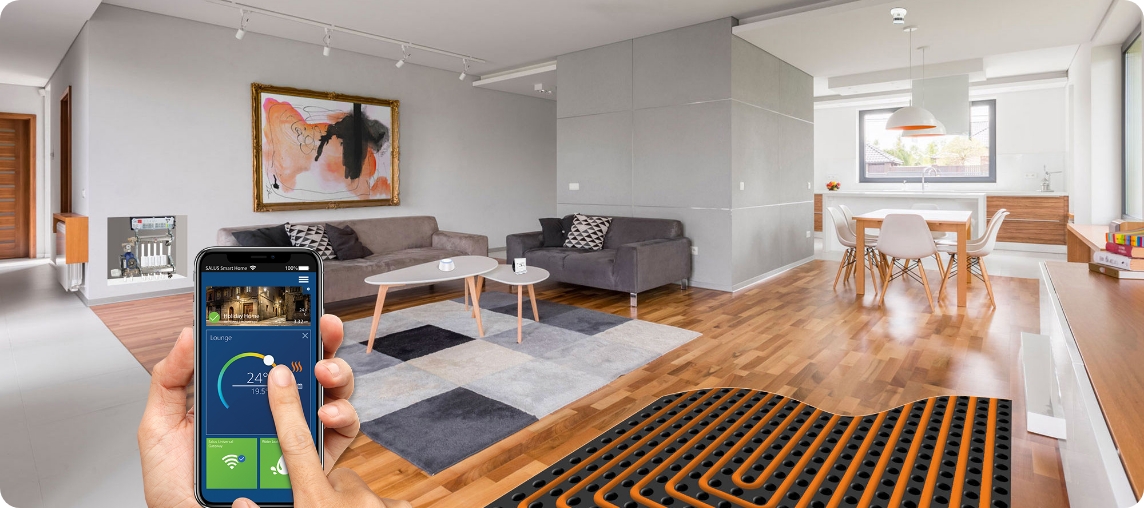
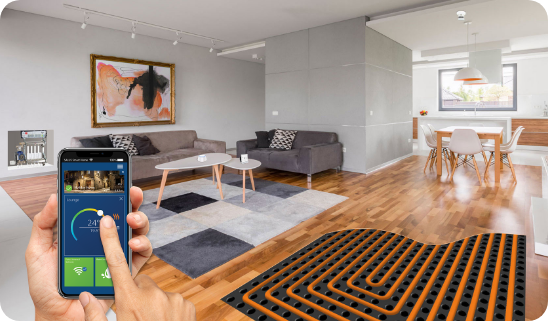
For your comfort, you can control the temperature whether you’re at home or away, whatever the type of heating: underfloor, radiator or electric.
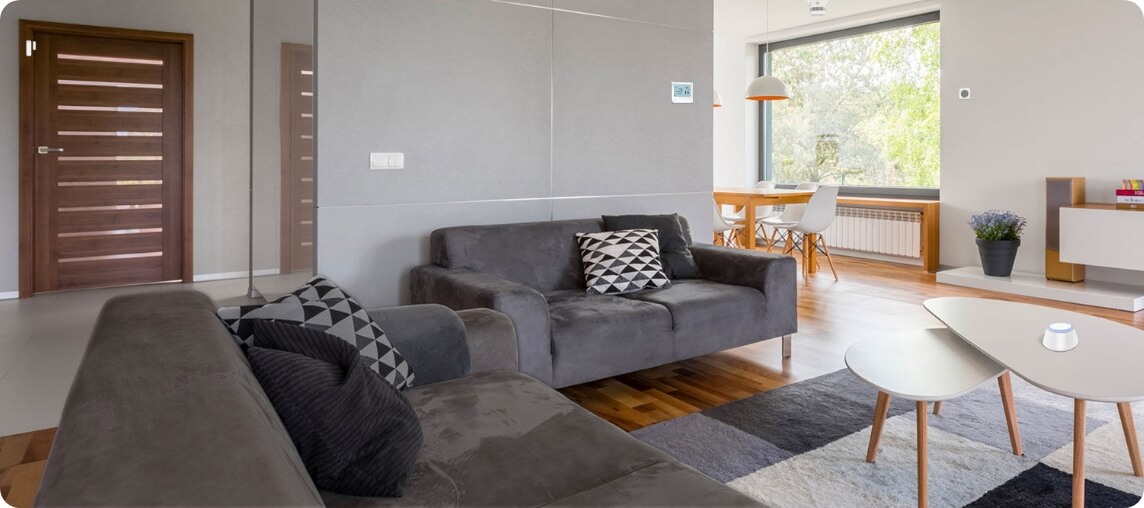

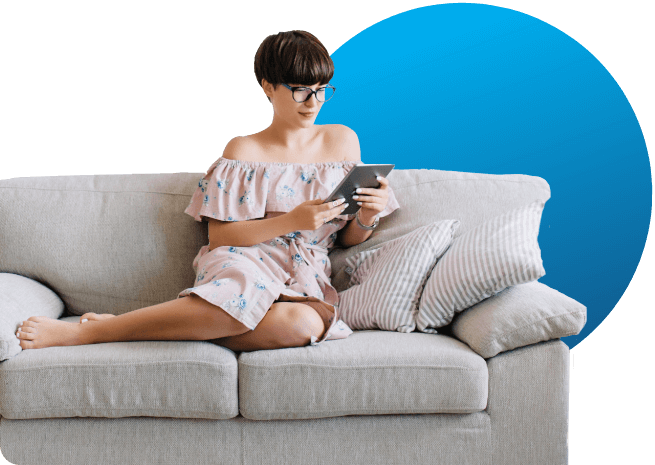
You decide how well lit you want your home to be, any time of the day. Control the lighting and the blinds.
• turning on the lights when entering the house
• notifications in case of emergencies: for example, if the child opens a safety door or with dangerous objects
• notifications for device status change
• events historyView product
• turning on the lights when entering the house
• notifications in case of emergencies: for example, if the child opens a safety door or with dangerous objects
• notifications for device status change
• events historyView product
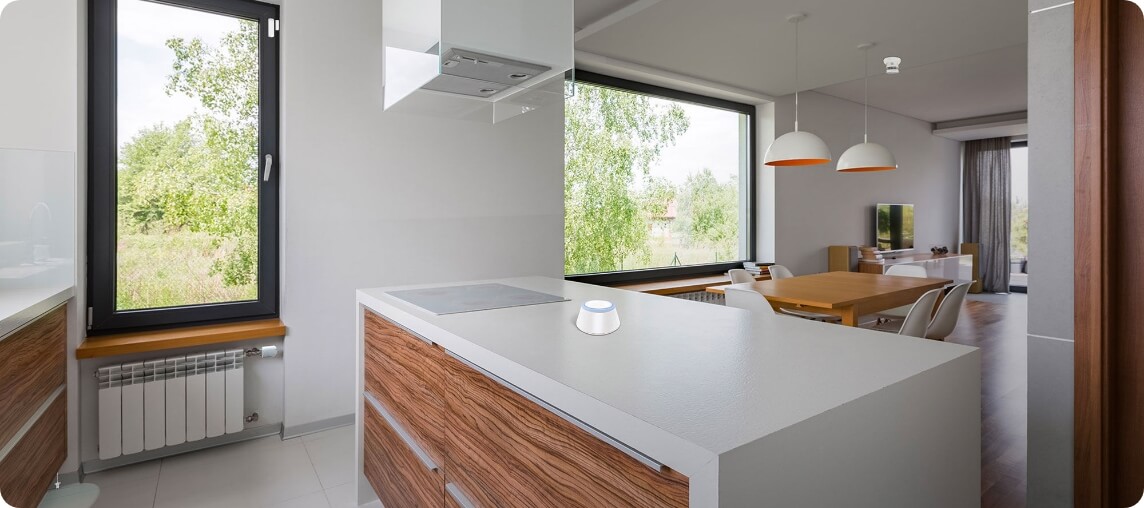
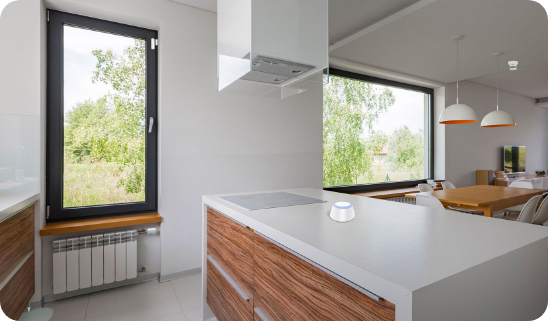
Choose devices that detect smoke, door and window sensors, smart plugs, movement and flood sensors.
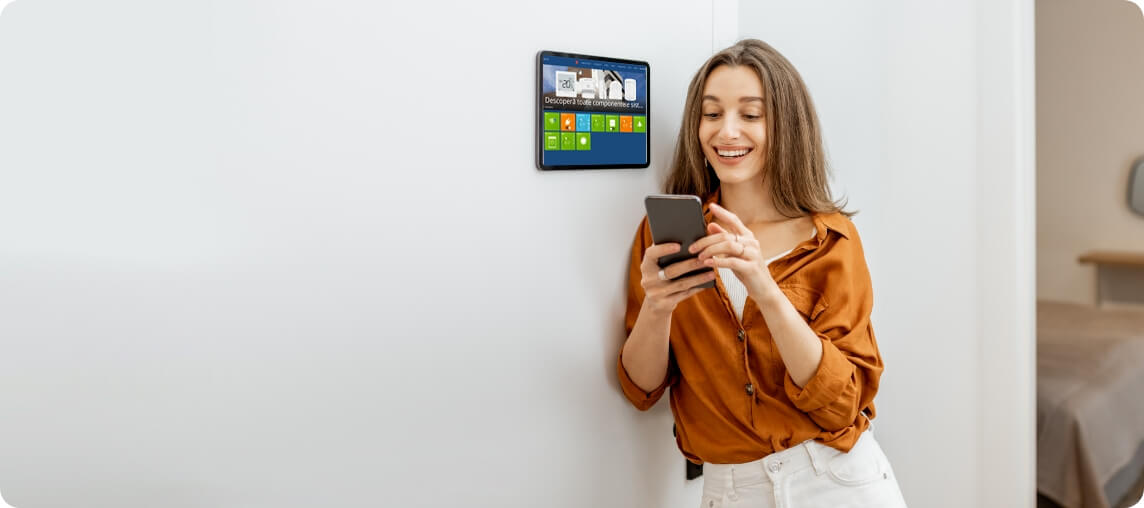


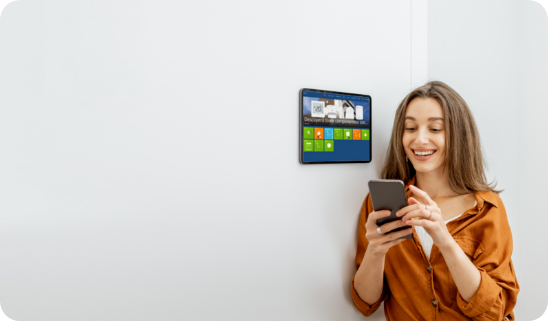


Upgrade your current system to our new Smart Home products, including thermostats, sensors, smart plugs and much more. Program and control them all from your phone, via the SALUS Smart Home app.
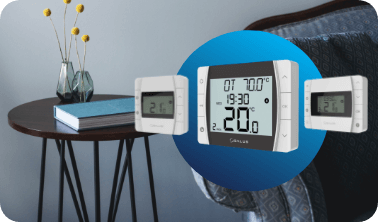
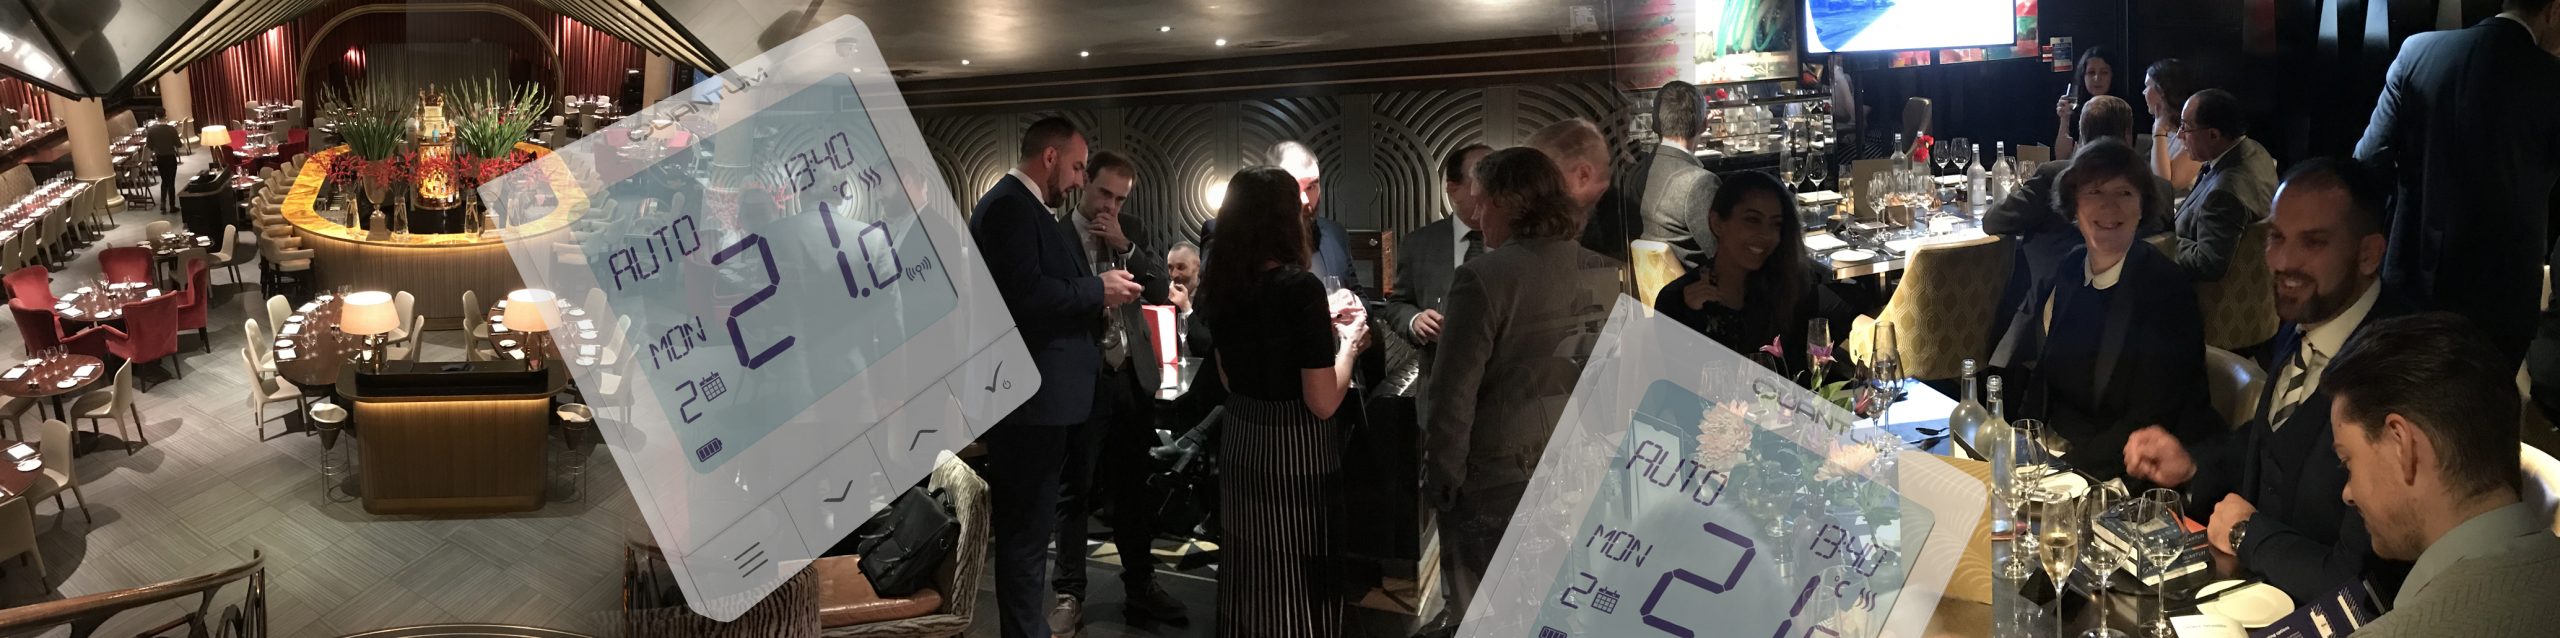
The new DT range has been created to give you perfect control of your heating system. Modern design, easy to install and advanced dual connection technology.

On each product page you have a predefined comparison between that product and one or two similar ones.